
Wondering how to keep your trolling motor battery charged while on the water? You can recharge it using your boat’s alternator or a small solar panel, even when you’re out on the lake.
Knowing the right method and safety steps helps ensure your battery stays ready to go. Here’s what you need to know to do it right.
Match Your Charger to Your Trolling Motor Battery Type
Your voltage must match your trolling motor system exactly. A 12-volt motor requires a 12-volt charger, while a 24-volt system needs a 24-volt-capable charger or a two-bank unit with independent outputs. If you have mixed battery banks, choose a charger that allows separate settings based on the battery chemistry. Also, match the number of batteries in your bank: a single battery setup needs a one-bank charger, whereas series-connected batteries require a multi-bank charger to protect each battery properly. Selecting the correct charger ensures efficient charging and helps preserve your investment in your trolling motor system. For example, a heavier battery like a deep-cycle unit may require a charger with a higher amperage rating to fully recharge it on the water. When installing your charger, place it in a dry, ventilated location similar to a fuse block mount to prevent corrosion and overheating. For added safety and organization, consider using a distribution block with fuse to manage power from your charger to multiple batteries.
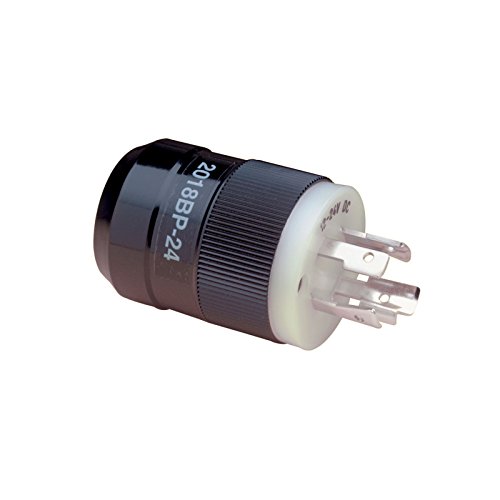
Jumper Internally To Supply 12V And 24V Power To The Trolling Motor

Quick & Hassle-Free Connection: Simplify your 36V trolling motor setup with this easy-to-use connection kit. Designed for quick, tool-free connections, it lets you link three 12V batteries in series, ensuring seamless and reliable power distribution for your trolling motor and marine accessories.
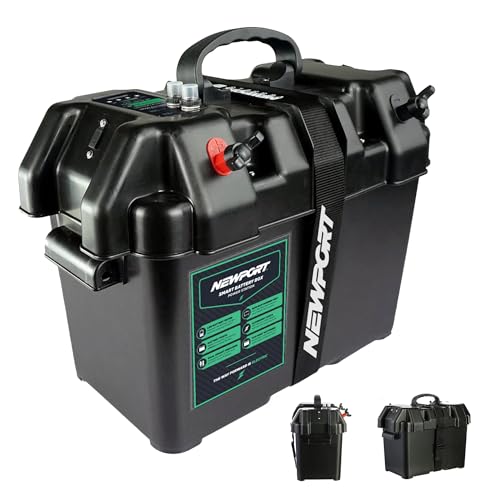
🔋 SIMPLE, CLEAN POWER SETUP FOR ANY BOAT: Take the guesswork out of wiring with a 12V trolling motor battery box power center designed to make setup fast and straightforward. No exposed terminals or messy connections—just a clean, organized marine battery solution for kayaks, jon boats, and small watercraft.
Safe Charging Setup for Your Trolling Motor Battery
To ensure safe charging of your trolling motor battery, always choose a well-ventilated, dry area with a stable, nonflammable surface. Charging produces explosive gases and heat, so opening hatches fully helps meet ventilation requirements and prevents gas buildup. Place the battery on a non-slip, flat surface away from fuel, sparks, or flames to reduce fire risk. The charger itself should sit on a hard, nonflammable surface like metal shelving; avoid soft materials that can trap heat and cause overheating. For superior electrical connection, consider upgrading to high-quality battery terminals that resist corrosion and provide better conductivity. To verify the battery can deliver sufficient starting power, you can check cranking amps with a multimeter set to DC amps. Route cables carefully to prevent pinching or tripping hazards, and never let them dangle into water. Use dry hands when handling connections, and disconnect the AC power supply before connecting or disconnecting leads to avoid sparks. During charging, monitor the battery for unusual warmth; if overheating occurs, stop the process immediately. Keep the surrounding area clutter-free to allow for inspection and proper airflow. If you see sparks at the connection when plugging in, it may indicate worn contacts or corrosion, similar to issues found in shore power cords.
Connect the Charger Without Blowing a Fuse
To connect your trolling motor battery charger without blowing a fuse, choose a fuse with a rating that matches your wire gauge, not the charger’s rating. This ensures the fuse protects the wire from overheating during current surges. Use marine-rated overcurrent protection devices to resist corrosion caused by moisture and salt, which can lead to heat buildup and repeated failures. Place the fuse within 18 inches of the battery’s positive terminal for proper circuit protection. Keep in mind that the charger’s inrush current can cause fast-acting fuses to blow; therefore, opt for a time-delay marine fuse designed to handle brief surges. Always connect the positive lead first, followed by the negative, and keep the charger disconnected from AC power until your DC connections are secure. It’s also crucial to verify that the polarity is correct before powering on to prevent instant fuse failure. Following these steps will minimize nuisance blows and keep your circuit safe during on-water charging. For a typical 12-foot boat wiring run, a 10-amp circuit may require 16 AWG wire, while a 30-amp load will need 10 AWG wire based on standard sizing rules. When selecting a fuse for your system, checking the wire gauge against the maximum ampacity rating from a marine chart is essential for safe installation. A thermal circuit breaker is a resettable alternative that protects against overheating without needing fuse replacement.

Medium duty time-delay plug fuse

Will withstand typical motor starting surges

Calculate the Ideal Amp Rating for Your Battery Bank
To determine the right amp rating, first consider your typical runtime needs. For short trips, a setup with around 50Ah may suffice, while longer outings might require 100Ah or more. Add a 20% safety buffer to account for unexpected power demands or inefficiencies. Match the amp rating to your motor’s average current draw rather than peak draw; motors with higher thrust generally need more amp-hours to achieve the same runtime. Use the relationship: runtime equals usable amp-hours divided by the average amp draw. Using reliable crimping tools ensures secure connections in the battery bank to prevent power loss. This approach ensures you charge your battery correctly and avoid overloading the system.

🔋 DEPENDABLE DEEP CYCLE POWER – Power your next trip with the Newport 12V 50Ah Deep Cycle Lead Acid Battery, designed to deliver steady, consistent power for trolling motors and other 12V marine electronics.

【Product Overview】Designed for deep cycle energy storage applications, SUPER EMPOWER LiFePO₄ batteries provide reliable power for RV, marine, trolling motor, and off-grid systems, featuring premium LiFePO₄ cells and an integrated BMS for protection against overcharge, over-discharge, overcurrent, short circuit, and temperature extremes; ideal for auxiliary and house power needs in mobile and outdoor setups, ensuring stable and long-lasting performance. Designed for energy storage use only, this battery is not suitable for engine starting or cranking applications.
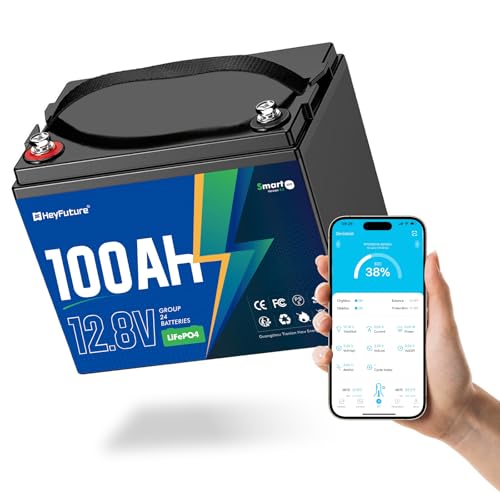
【High-Quality Lithium Batteries with Deep Cycle】Hey Future 12V LiFePO4 battery, which provides deep cycle charging and discharging, is guaranteed to provide a longer service life and will not result in energy loss. This lithium battery is a perfect replacement for lead-acid batteries, it works better, is safe and stable, has a high energy density, is smaller and lighter, you can lift it without any trouble, the 12V 100Ah LiFePO4 battery performs very well at high and low temp!
Charge Lithium and Lead-Acid Batteries the Right Way
To charge lithium or lead-acid batteries correctly, you need a charger tailored to your battery’s chemistry and voltage. For lithium batteries, use a lithium or LiFePO4 profile, not a lead-acid setting. Conversely, for lead-acid batteries, choose flooded, AGM, or gel modes based on your battery type. Smart chargers are ideal because they taper current and signal when charging is complete. Lithium batteries do not require a float stage, so once full, disconnect the charger to prevent overcharging. For safe charging, always turn off your trolling motor and accessories before connecting the charger. Connect the positive terminal to the positive side first, then the negative to the negative. After charging, disconnect the negative terminal first. Never charge lithium batteries below freezing unless they have built-in protection, as cold temperatures can cause safety issues. If a lead-acid battery overheats during charging, stop immediately to prevent damage or safety hazards. Proper maintenance involves using multi-bank chargers to keep your system balanced across multiple batteries. While lithium batteries charge faster, both types demand a secure, dry installation location for your charger. Understand the correct routing and connections when wiring your charger into a battery switch to ensure safe and reliable power distribution. Ensure your charger matches your system voltage, whether 12V, 24V, or 36V, and rely on the charger’s intelligent features to handle the specifics effectively. Top wire strippers for quality and performance can help ensure secure connections when installing your charger. For reliable protection, choose a 12V solar charger with overcharge protection to automatically stop current when a battery reaches full capacity.

LiFePO4 LEAD-ACID SMART BATTERY CHARGER - 12V 15-Amp and 24V 8-Amp 9-stage quick battery charger, significantly faster than standard 10-Amp or 8-Amp chargers. Perfect for charging or repairing all 12V and 24V LiFePO4 and lead-acid batteries, including AGM, GEL, SLA, and Flooded types. Ideal for cars, trucks, SUVs, motorcycles, lawn mowers, boats, and marine applications. Note:(This is a battery charger not battery jump starter).

Wide Battery Compatibility: Converts standard 120V AC into a stable 12V DC power supply. This RV power converter is ideal for charging batteries or powering 12V RV devices. Supports both lead-acid and LiFePO4 batteries (Battery not included)

Warning: This 12 volt 80 amp lithium battery charger is not waterproof - not suitable for Marine environments such as boats, ships, yachts, trolling motors, etc.
Keep Your Trolling Motor Battery Topped up With Solar
A small solar panel of 6W to 12W is effective for maintaining your trolling motor battery between trips. It can slow down the self-discharge rate during storage or light use, helping keep your battery topped up without needing to plug into shore power. However, it’s not designed to fully recharge a deeply drained battery, especially in less-than-ideal sunlight conditions. For maximum efficiency, look for a solar charger without battery that bypasses internal storage losses. Direct sunlight is crucial for optimal performance since shade or cloud cover can significantly reduce solar efficiency. Always use a charge controller to prevent overcharging the battery, and securely mount the panel on your deck or bimini top for maximum exposure to sunlight. To verify the battery’s health before relying on solar maintenance, use a multimeter to check the voltage reading after the battery has rested for several hours. This setup is best suited for light maintenance and prolonging battery life rather than recharging after heavy use. If your trolling motor relies heavily on the battery, you’ll need a much larger solar array for recharging. For anglers with multiple batteries, consider a trickle charger designed for simultaneous charging to maintain all batteries efficiently between outings.

【High Conversion Rate】This 20W solar panel with monocrystalline A+ solar cell has an excellent cell efficiency of 21%-30%. Designed to charge and maintain 12V rechargeable batteries like LiFePO₄, Lithium Ion, AGM, SLA, GEL, EFB, MF, etc. Keep batteries in charged for trailer, tractor, truck, boat, motorcycle, RV, car, lawn mower, water pump, gate opener, electric fence, etc
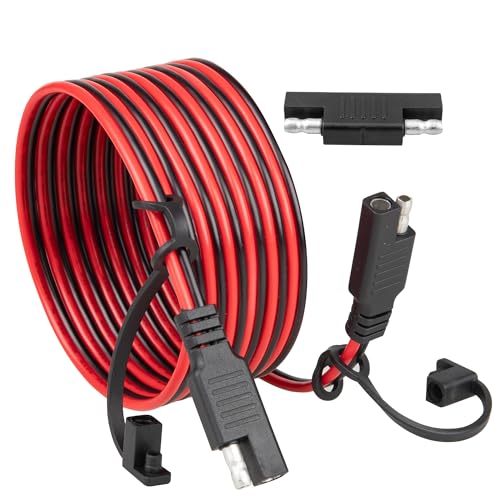
Universal SAE to SAE Extension Cable: 6FT long, Red wire is for positive and black wire for negative,constructed with high-quality 16AWG pure copper wires for excellent electrical conductivity, withstand high currents, ensuring safe and long-lasting performance
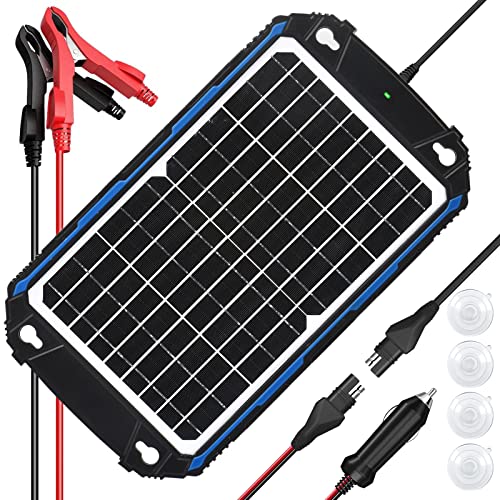
【Ultra-Smart MPPT Technology】This 12v solar panel battery charger is crafted with SUNER POWER's unique Ultra-Smart MPPT( Max Power Point Tracking) technology, the innovative MPPT allows to deliver high tracking efficiency of up to 99% and peak conversion efficiency of 98%, improving approximately 20%-30% utilization rate than other competitors
Recharge Your Trolling Motor Battery With the Alternator
To recharge your trolling motor battery while on the water, use your boat’s alternator. As you travel between fishing spots, the engine’s excess alternator output can charge your trolling bank. You’ll need a DC-to-DC charger, especially for lithium batteries, to safely regulate voltage and current. Connect the charger’s input to your starting battery and its output to the trolling bank. Most systems only start charging after the starting battery is full, so you must keep the engine running during this time. Keep in mind, this method extends your runtime but does not replace a full shore power recharge. To ensure safety and efficiency, match the charger to your battery chemistry and alternator size. Overloading your alternator can reduce its lifespan, so avoid excessive loads. For systems with 24V or 36V banks, use a charger rated for the total bank voltage. Proper wiring is essential—get it right, and you can gain hours of extra fishing time. Before installing, inspect all connections for loose or corroded terminals, as poor contact creates resistance that generates heat and wastes alternator output. The Minn Kota on-board alternator charger offers a charge-on-the-fly technology that reroutes excess alternator power to trolling motor batteries after the starting battery is fully charged. For larger setups, selecting a Group 31 battery provides more runtime and reserve capacity than smaller deep-cycle options. Using a crimping tool ensures secure wire connections, preventing heat buildup and power loss at the charger terminals.
3 Pre-Trip Habits to Avoid a Dead Trolling Motor Battery
The most important pre-trip habit to avoid a dead trolling motor battery is to ensure it is fully charged before leaving the dock. Starting with a complete charge guarantees longer run time and prevents early power loss on the water. Check your battery’s condition and connections as well. Look for cracks, swelling, or corrosion on terminals; clean any white or green buildup immediately, as it increases resistance and reduces power flow. Tighten loose connections to maintain proper voltage. Regular maintenance also includes checking electrolyte levels in flooded batteries and adding only distilled water. For storage, keep your battery fully charged, store it in a cool, dry place, and secure it against vibrations. Finally, load-testing your battery can reveal capacity issues, especially after winter layup. Replace any failing battery to avoid the inconvenience of being stranded with a dead one. Selecting the right solar charge controller ensures your battery maintains a proper charge during extended trips.